あんまり
記事書いてない・・・ 最近はAmplifyとかのサービスである程度良い感じにできるけど、 いざという時にわからんは避けたいので少しだけやる
cognito
そろそろAWSのSDKのバージョン2が使えなくなるらしい もう、バージョン2で実装するコードは古いはずなので改めてcognitoのログインを見てみる
やること
- AWSのcotnitoでユーザープールを作成 2.手動でログイン可能な状態にする 3.Webアプリでログイン処理を実装
今回は登録→ログインではなく、手動で作成したユーザーでログインだけやります
できたもの(多分)
https://github.com/mshige1979/cognito_samples/tree/main/sample1
cognitoの作成
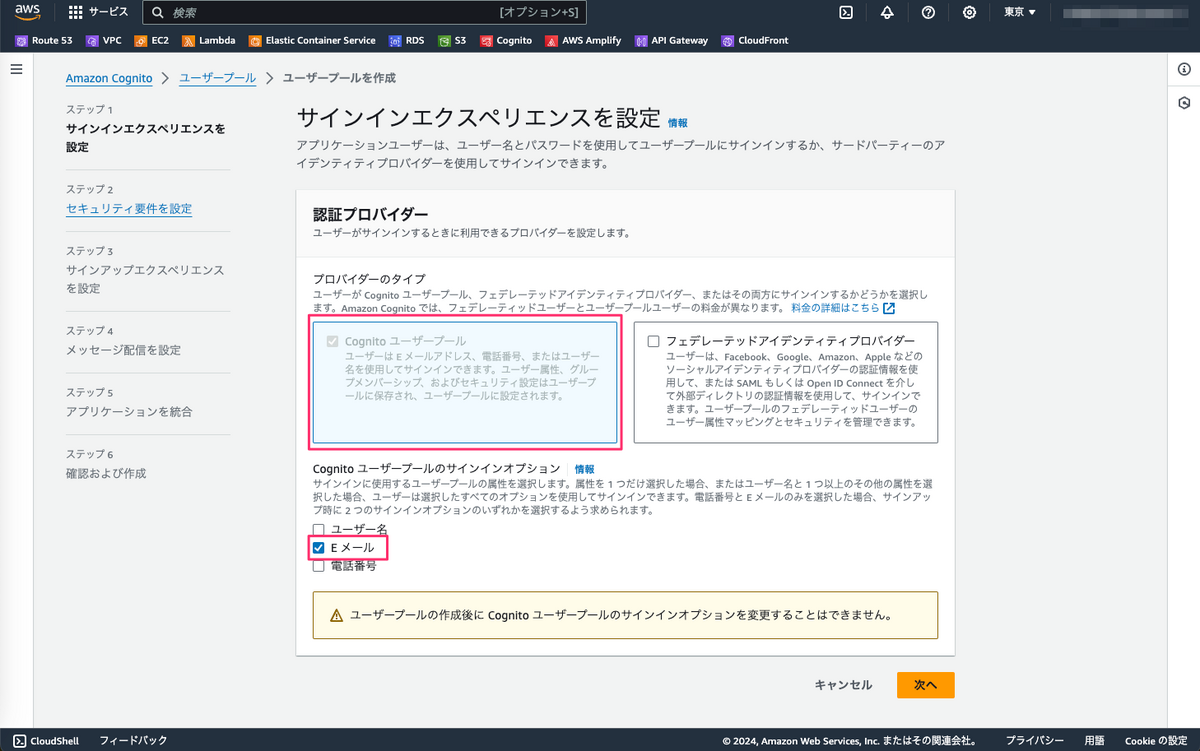
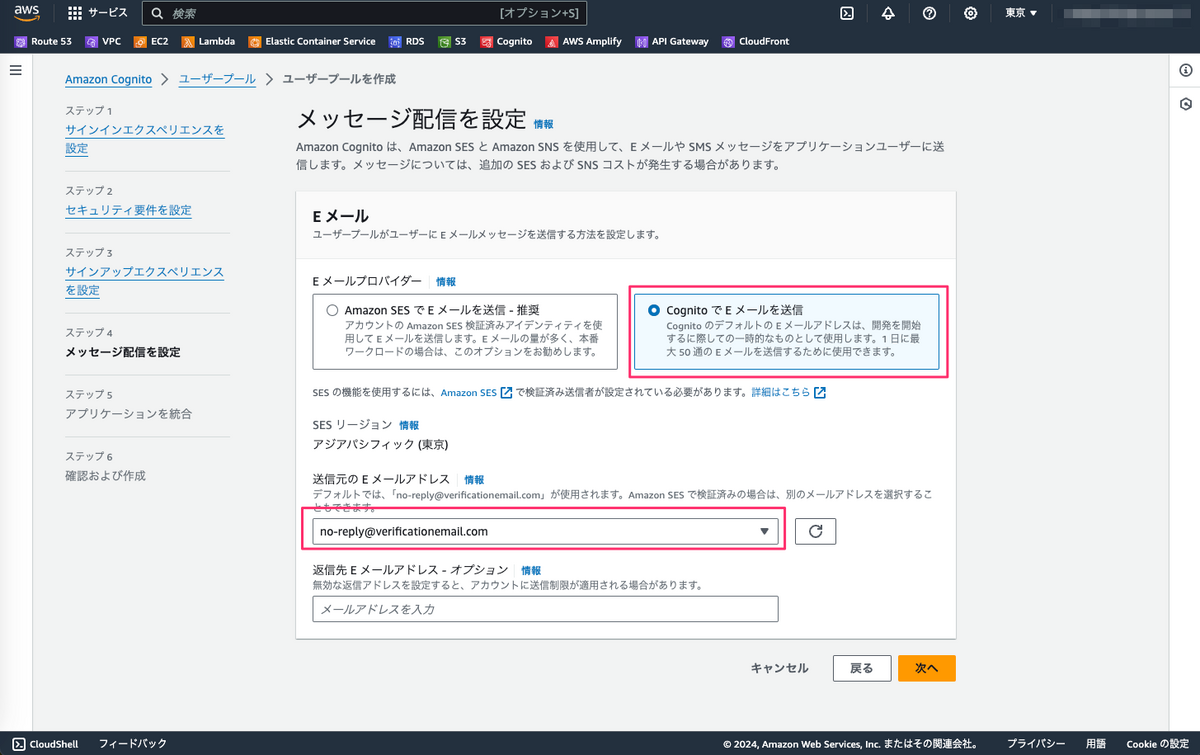
プロバイダはデフォルトでEメールを利用する
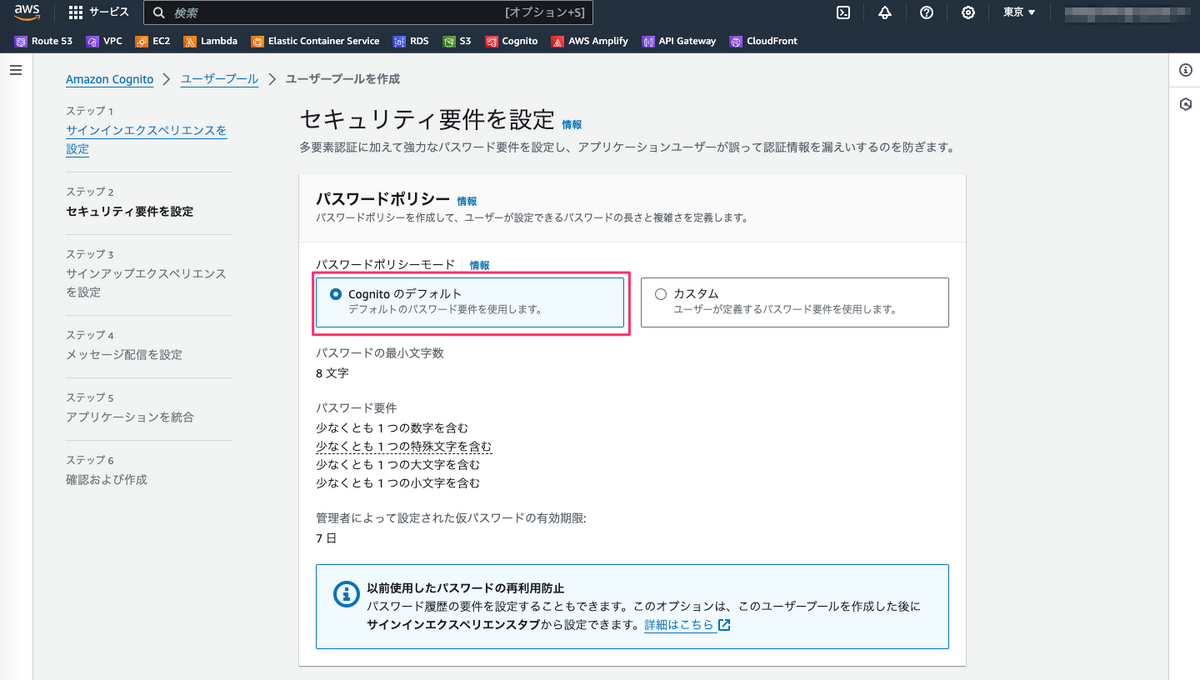
パスワードはデフォルト
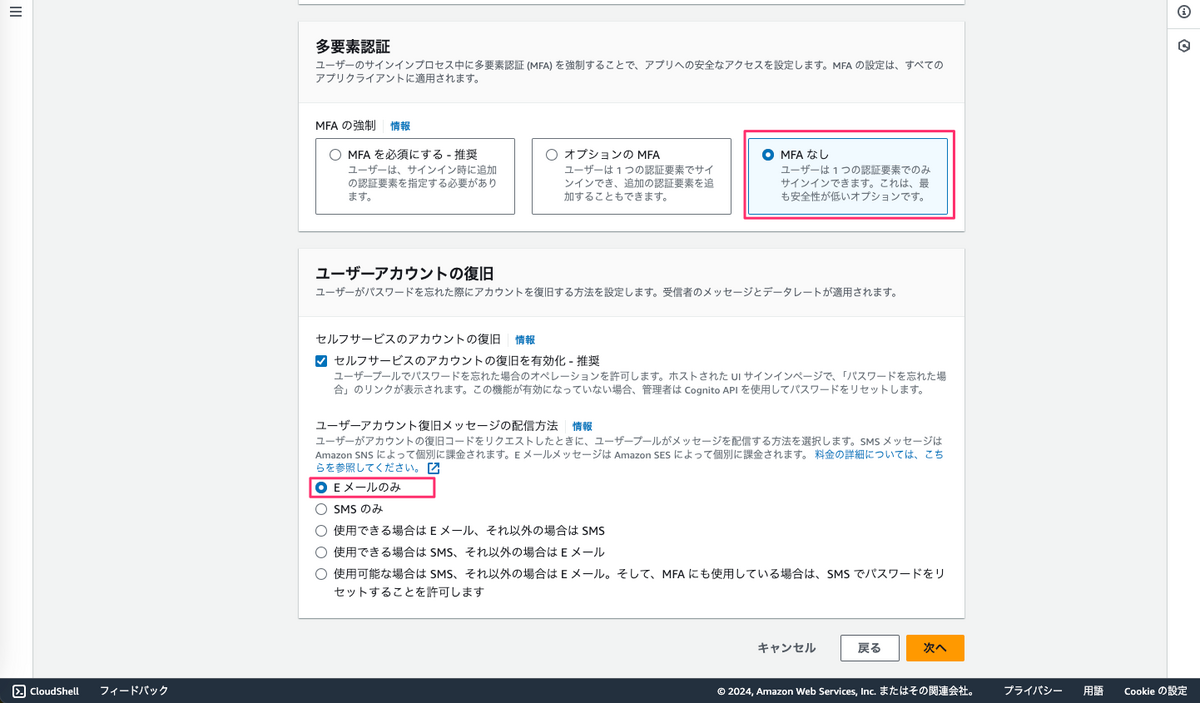
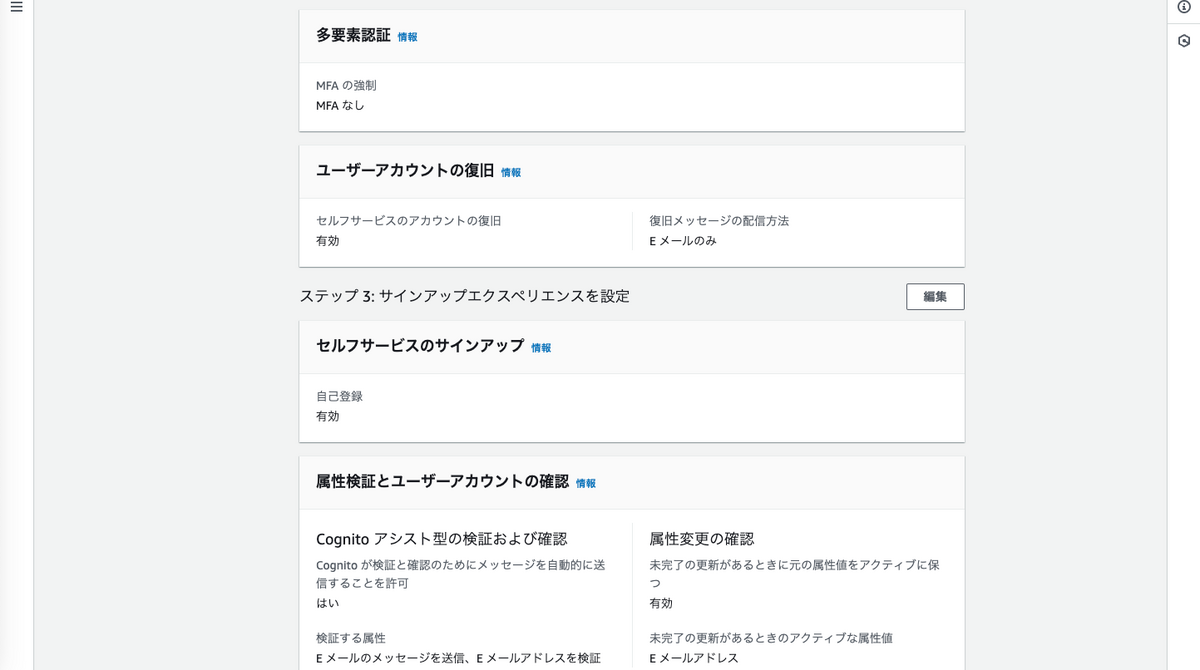
多要素認証はしない
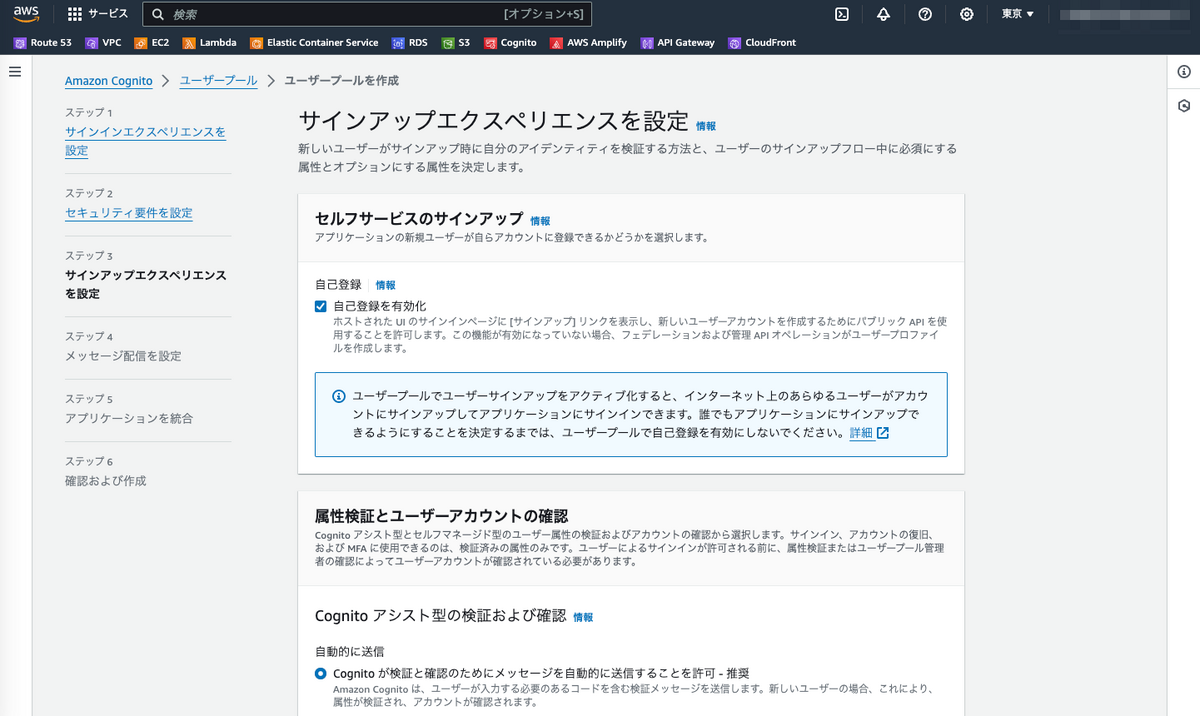
この辺はデフォルト
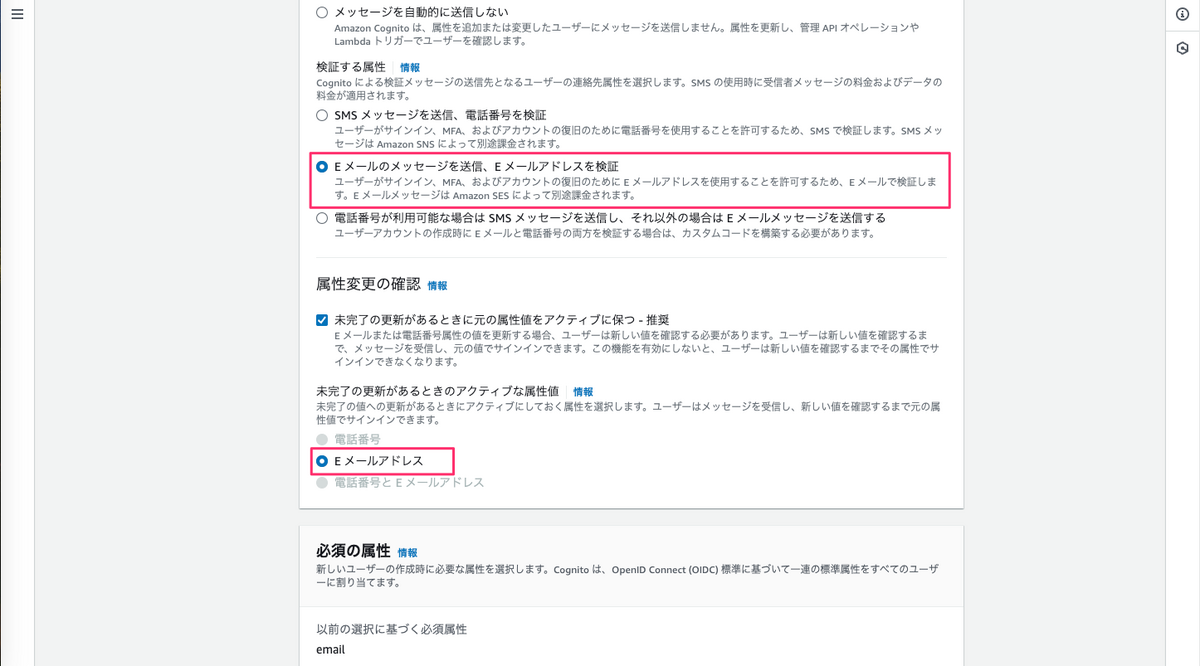

cognitoのメールアドレスで送信する
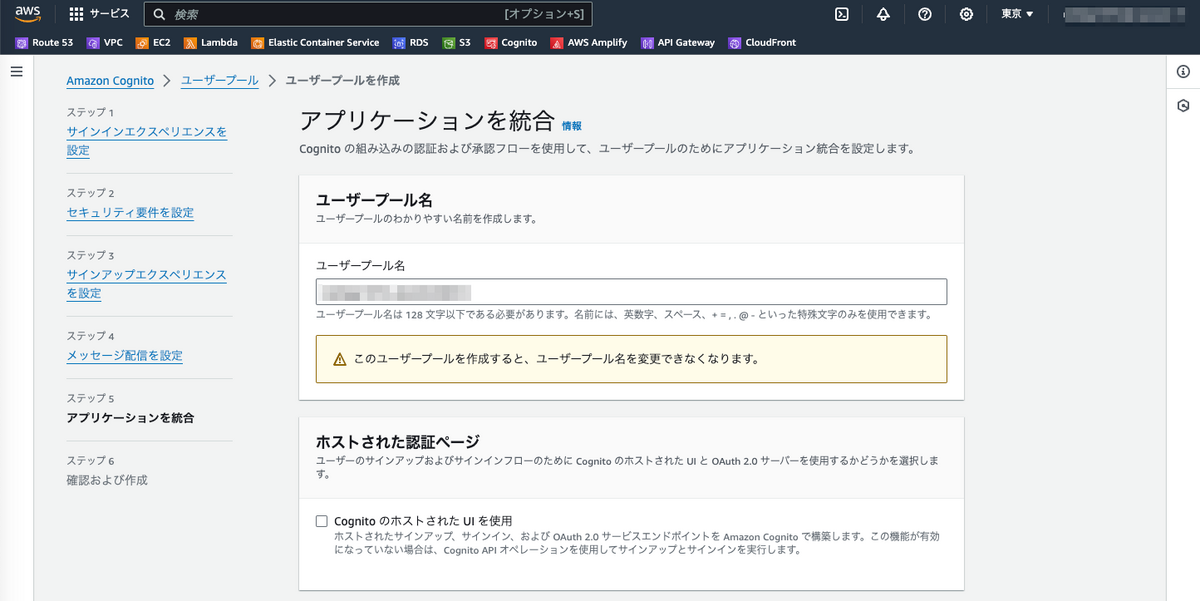
ユーザープール名を設定
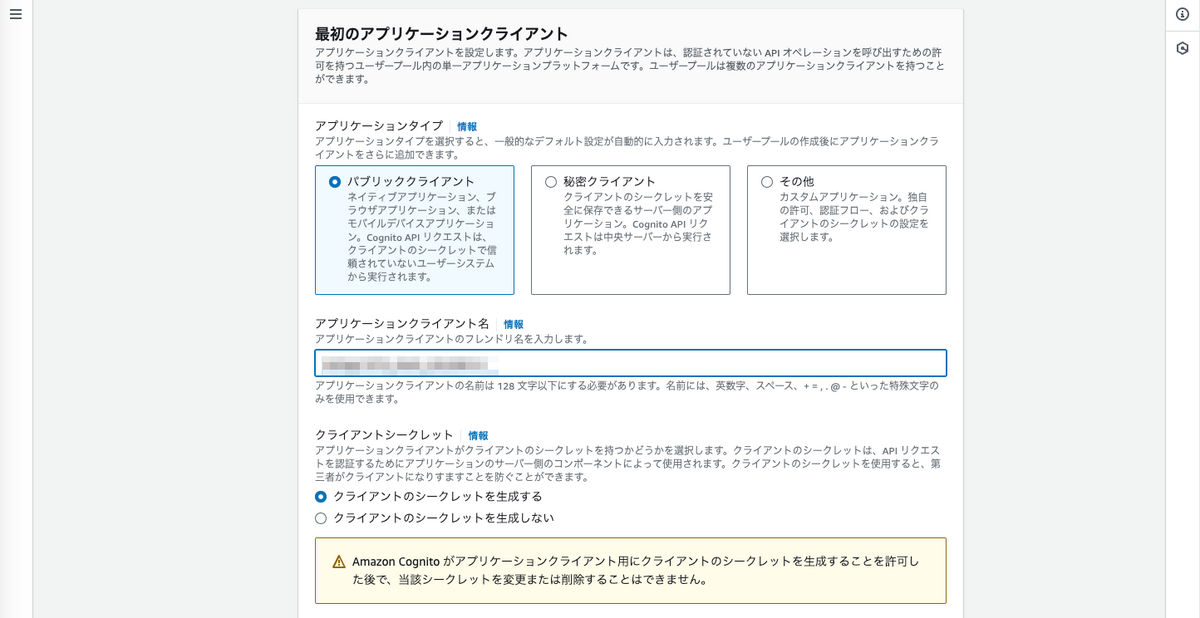
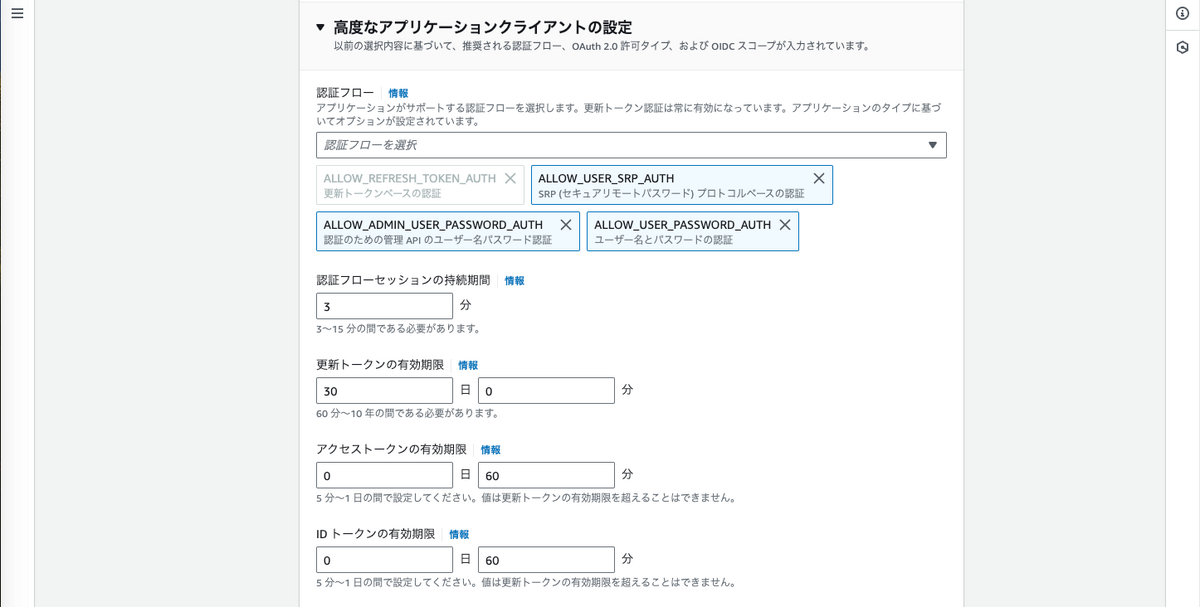
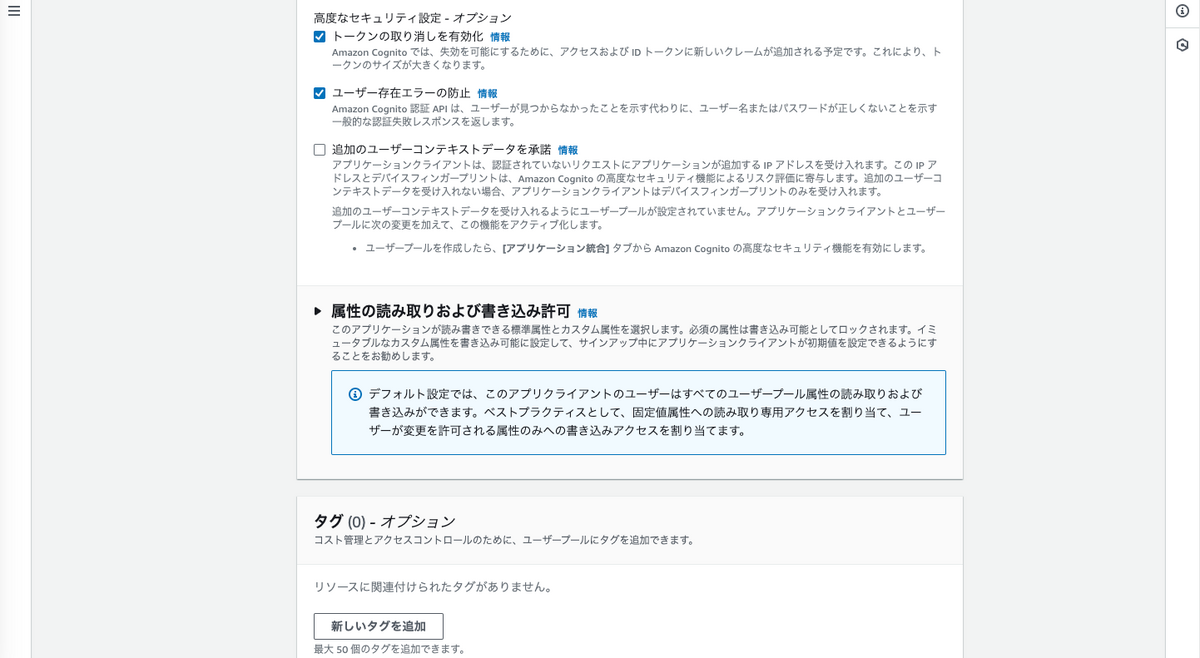
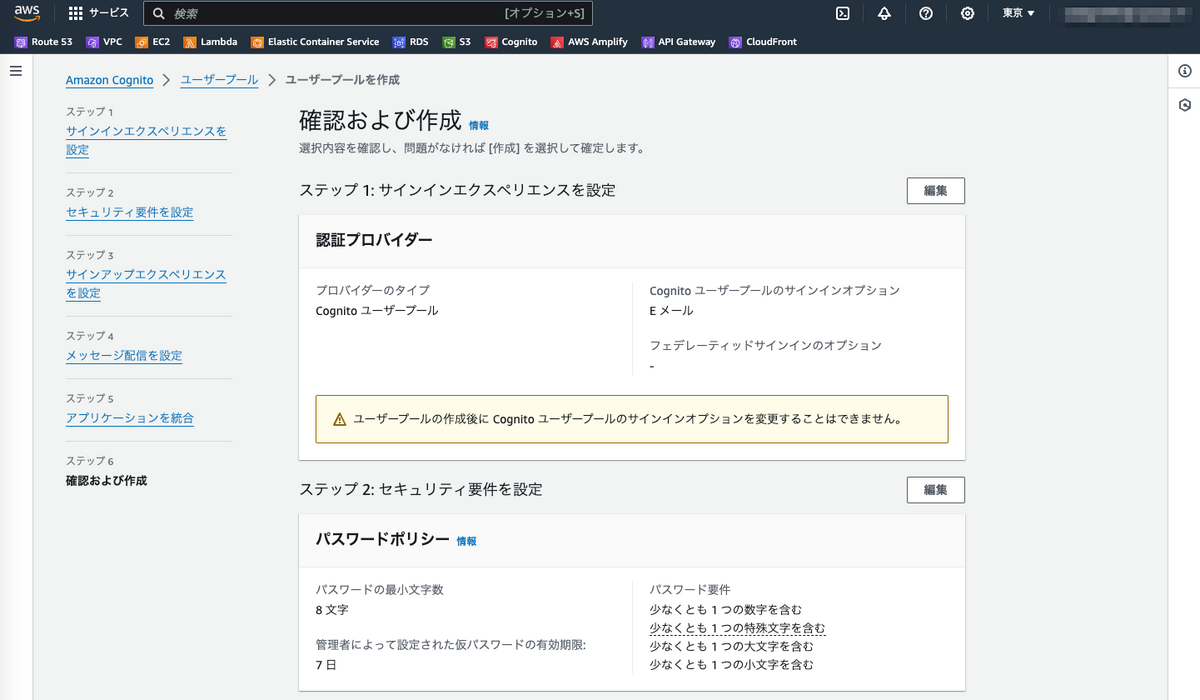
確認画面
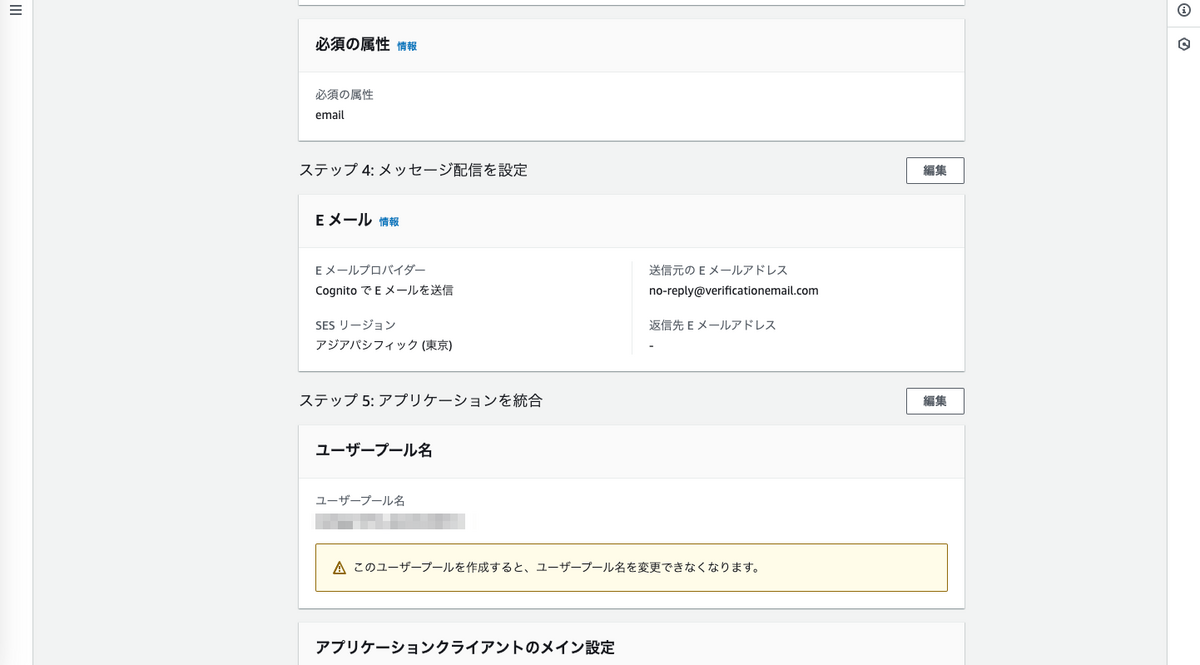
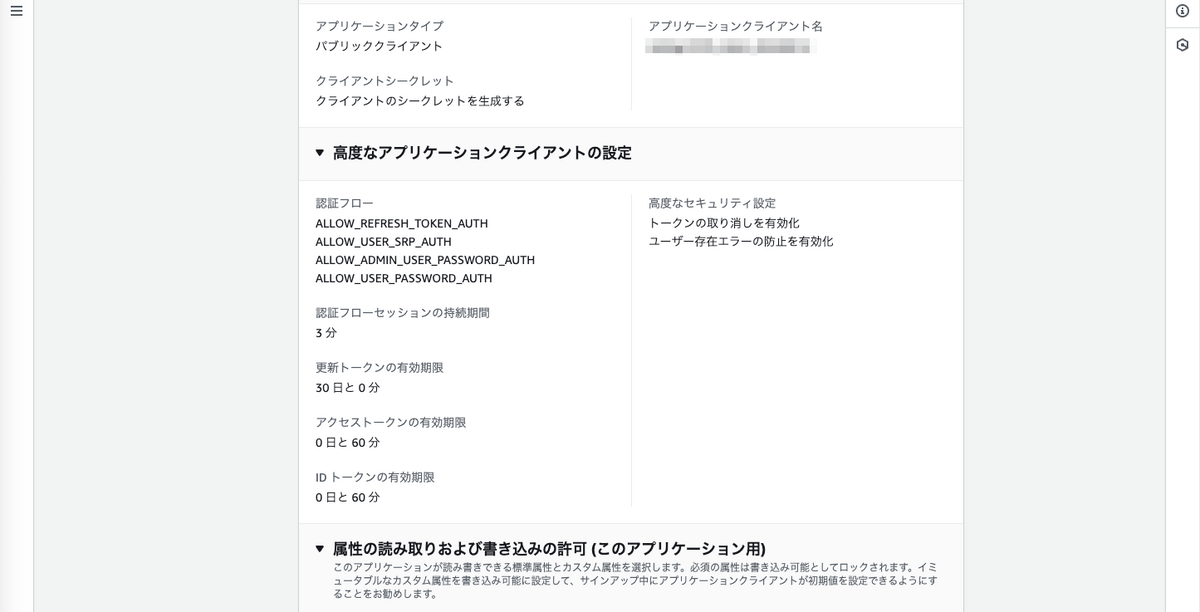
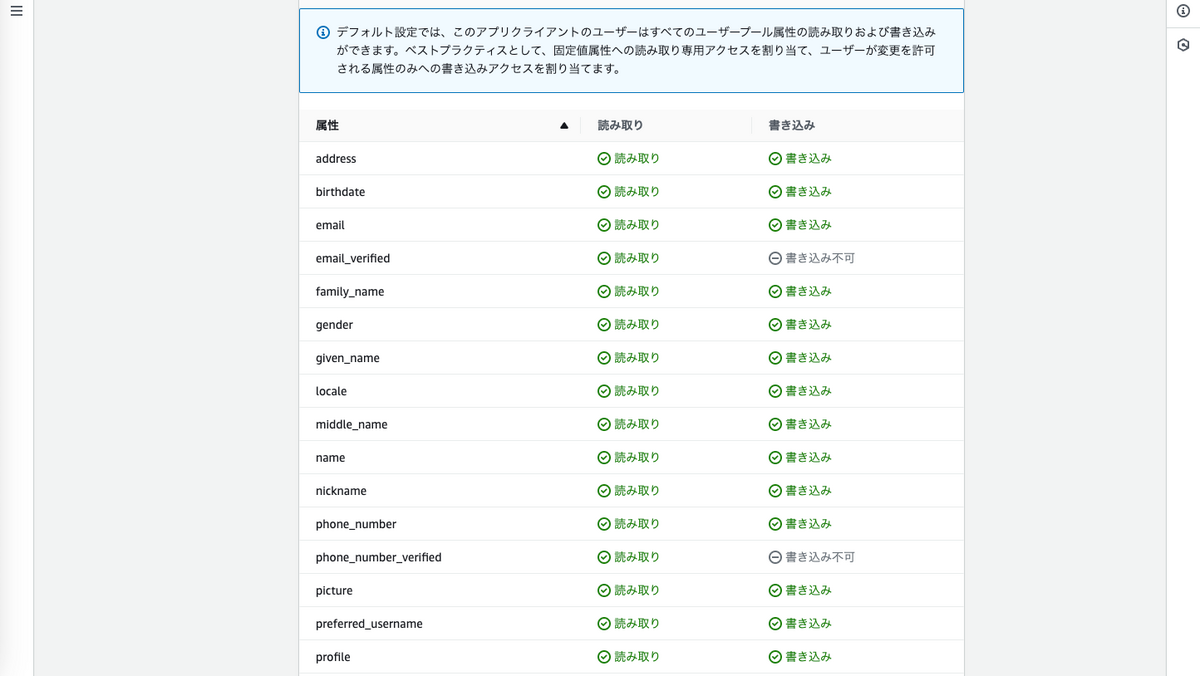

ユーザーの作成
環境変数準備
ローカル環境で実行する場合はアクセスキーなどを環境変数として設定しておくこ
export AWS_ACCESS_KEY_ID=xxxxxxxxxxxxxxx
export AWS_SECRET_ACCESS_KEY=vvvvvvvvvvvvvvvvvvvvvvvv
export AWS_DEFAULT_REGION=ap-northeast-1
ユーザー作成
aws cognito-idp admin-create-user \
    --user-pool-id "ap-northeast-1_XXXXXXX" \
    --username "hogefuga@example.com" \
    --user-attributes Name=email,Value="hogefuga@example.com" Name=email_verified,Value=true \
    --message-action SUPPRESS
↓
{
    "User": {
        "Username": "xxxxxxxx-yyyy-vvvv-aaaa-zzzzzzzzzzzz",
        "Attributes": [
            {
                "Name": "email",
                "Value": "hogefuga@example.com"
            },
            {
                "Name": "email_verified",
                "Value": "true"
            },
            {
                "Name": "sub",
                "Value": "xxxxxxxx-yyyy-vvvv-aaaa-zzzzzzzzzzzz"
            }
        ],
        "UserCreateDate": "2024-08-14T15:43:44.351000+09:00",
        "UserLastModifiedDate": "2024-08-14T15:43:44.351000+09:00",
        "Enabled": true,
        "UserStatus": "FORCE_CHANGE_PASSWORD"
    }
}
ステータスはFORCE_CHANGE_PASSWORDとなる
この状態では確認ができていない状態です
パスワードを設定する
aws cognito-idp admin-set-user-password \
    --user-pool-id "ap-northeast-1_XXXXXXX" \
    --username "xxxxxxxx-yyyy-vvvv-aaaa-zzzzzzzzzzzz" \
    --password 'P@ssword987' \
    --permanent
ユーザー登録時に発行されたユーザーIDなどを利用し、パスワードを設定
ステータスを確認
aws cognito-idp admin-get-user \
    --user-pool-id "ap-northeast-1_XXXXXXX" \
    --username "xxxxxxxx-yyyy-vvvv-aaaa-zzzzzzzzzzzz"
↓
{
    "Username": "xxxxxxxx-yyyy-vvvv-aaaa-zzzzzzzzzzzz",
    "UserAttributes": [
        {
            "Name": "email",
            "Value": "hogefuga@example.com"
        },
        {
            "Name": "email_verified",
            "Value": "true"
        },
        {
            "Name": "sub",
            "Value": "xxxxxxxx-yyyy-vvvv-aaaa-zzzzzzzzzzzz"
        }
    ],
    "UserCreateDate": "2024-08-14T15:43:44.351000+09:00",
    "UserLastModifiedDate": "2024-08-14T15:47:53.239000+09:00",
    "Enabled": true,
    "UserStatus": "CONFIRMED"
}
ステータスが更新されていることを確認
Webアプリでログイン処理を実装
全体(src/App.tsx)
import "./App.css";

import { BrowserRouter, Routes, Route, Navigate } from "react-router-dom";
import LoginPage from "./loginPage";
import HomePage from "./homePage";

function App() {
  // 簡易認証チェック
  const isAuthenticated = () => {
    const accessToken = sessionStorage.getItem("accessToken");
    return !!accessToken;
  };

  return (
    <BrowserRouter>
      <Routes>
        {/* TOPの場合は未認証ではlogin、認証済の場合はhomeへ遷移 */}
        <Route
          path="/"
          element={
            isAuthenticated() ? (
              <Navigate replace to="/home" />
            ) : (
              <Navigate replace to="/login" />
            )
          }
        />

        {/* login */}
        <Route path="/login" element={<LoginPage />} />

        {/* home */}
        <Route
          path="/home"
          element={
            isAuthenticated() ? <HomePage /> : <Navigate replace to="/login" />
          }
        />
      </Routes>
    </BrowserRouter>
  );
}

export default App;
ログイン画面(src/loginPage.tsx)
import { useState } from "react";
import { signIn } from "./authService";

// ログイン画面
const LoginPage = () => {
  const [email, setEmail] = useState("");
  const [password, setPassword] = useState("");

  const handleSignIn = async (e: { preventDefault: () => void }) => {
    e.preventDefault();
    try {
      // 認証処理を行う
      const session = await signIn(email, password);
      console.log("Sign in successful", session);
      if (session && typeof session.AccessToken !== "undefined") {
        sessionStorage.setItem("accessToken", session.AccessToken);
        if (sessionStorage.getItem("accessToken")) {
          // window.location.href = "/home";
        } else {
          console.error("Session token was not set properly.");
        }
      } else {
        // 認証失敗
        console.error("SignIn session or AccessToken is undefined.");
      }
    } catch (error) {
      // 認証失敗(例外)
      alert(`Sign in failed: ${error}`);
    }
  };

  return (
    <div className="loginForm">
      <h1>ログイン</h1>
      <h4>{"ログインするメールアドレスとパスワードを設定してください"}</h4>
      <form>
        <div>
          <input
            className="inputText"
            id="email"
            type="email"
            value={email}
            onChange={(e) => setEmail(e.target.value)}
            placeholder="Email"
            required
          />
        </div>
        <div>
          <input
            className="inputText"
            id="password"
            type="password"
            value={password}
            onChange={(e) => setPassword(e.target.value)}
            placeholder="Password"
            required
          />
        </div>
      </form>
      <button onClick={handleSignIn}>ログイン</button>
    </div>
  );
};

export default LoginPage;
認証処理(src/authService.ts)
import {
  CognitoIdentityProviderClient,
  AdminInitiateAuthCommand,
  AdminInitiateAuthCommandInput,
  AdminInitiateAuthCommandOutput,
} from "@aws-sdk/client-cognito-identity-provider";

import config from "./config.json";

// リージョンなどの設定
// 管理コマンドを利用する場合は状況に応じて認証情報を設定(今回はローカル環境のため、、、)
export const cognitoClient = new CognitoIdentityProviderClient({
  region: config.region,
  credentials: config.credentials,
});

// ログイン処理
export const signIn = async (username: string, password: string) => {
  // ログインパラメータ設定
  const params: AdminInitiateAuthCommandInput = {
    AuthFlow: "ADMIN_USER_PASSWORD_AUTH",
    UserPoolId: config.userPoolId,
    ClientId: config.clientId,
    AuthParameters: {
      USERNAME: username,
      PASSWORD: password,
    },
  };

  // ログイン処理実施
  try {
    const command = new AdminInitiateAuthCommand(params);
    const response: AdminInitiateAuthCommandOutput = await cognitoClient.send(
      command
    );
    console.log(`response: `, response);
    console.log(`ChallengeName: `, response.ChallengeName);
    console.log(`ChallengeParameters: `, response.ChallengeParameters);

    if (response.ChallengeName === undefined) {
      const { AuthenticationResult } = response;
      console.log(`AuthenticationResult: `, AuthenticationResult);
      if (AuthenticationResult) {
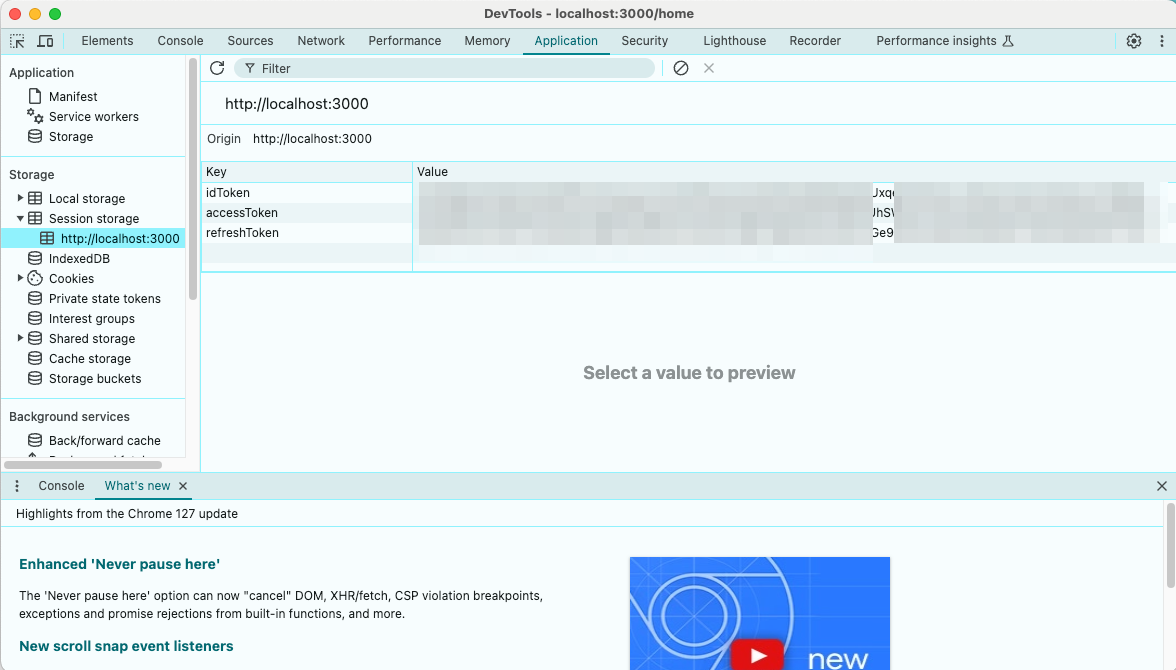
        sessionStorage.setItem("idToken", AuthenticationResult.IdToken || "");
        sessionStorage.setItem(
          "accessToken",
          AuthenticationResult.AccessToken || ""
        );
        sessionStorage.setItem(
          "refreshToken",
          AuthenticationResult.RefreshToken || ""
        );
        return AuthenticationResult;
      }
    }
  } catch (error) {
    console.error("Error signing in: ", error);
    throw error;
  }
};
AuthenticationResultの値はユーザーのステータスがCONFIRMEDになっていないと取得できないので取得する場合は確認済みにしておく必要あり
画面の流れ
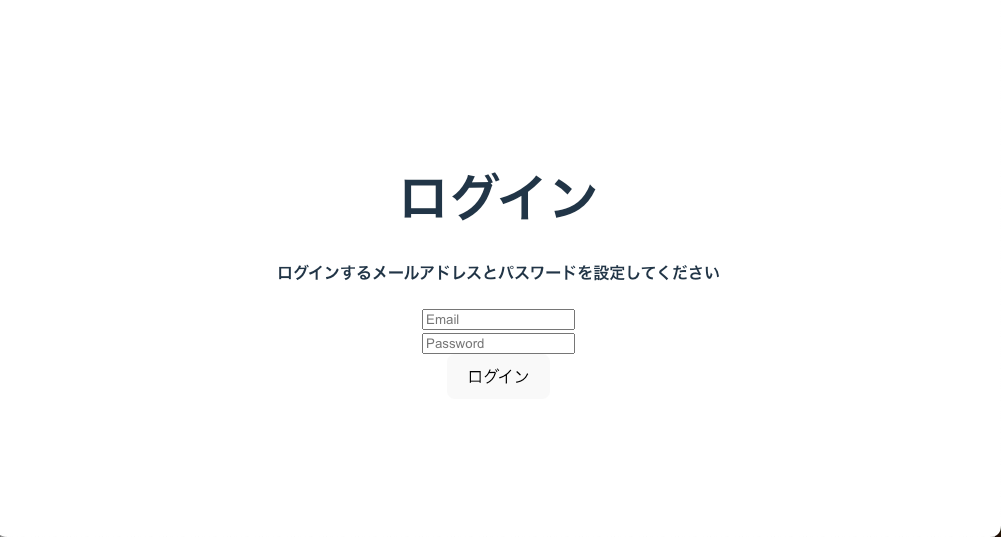 ↓
↓

セッション情報
ひとまずここまで
参考
aws-doc-sdk-examples/javascriptv3/example_code/cognito-identity-provider/scenarios/cognito-developer-guide-react-example/frontend-client at main · awsdocs/aws-doc-sdk-examples · GitHub CognitoユーザープールにAWS SDK for JavaScript v3でアクセス その1 - ユーザ一覧取得 #Node.js - Qiita AWS | Amazon CognitoとAWS SDK for JavaScript v3でユーザー登録|Koji Iino