react-nativeでgoogle mapを使用
react-nativeでgoogle mapを使用
環境
参考情報
【React Native】Googleマップを利用する(Android) - Ren's blog
React Nativeへ地図を表示する方法 - react-native-mapsライブラリを使ってReact Nativeへ地図を使う方法について調べてみます。
Get an API Key | Maps SDK for Android | Google Developers
google mapキーを取得
Google Cloud Platformへアクセスし、プロジェクトを新規に作成
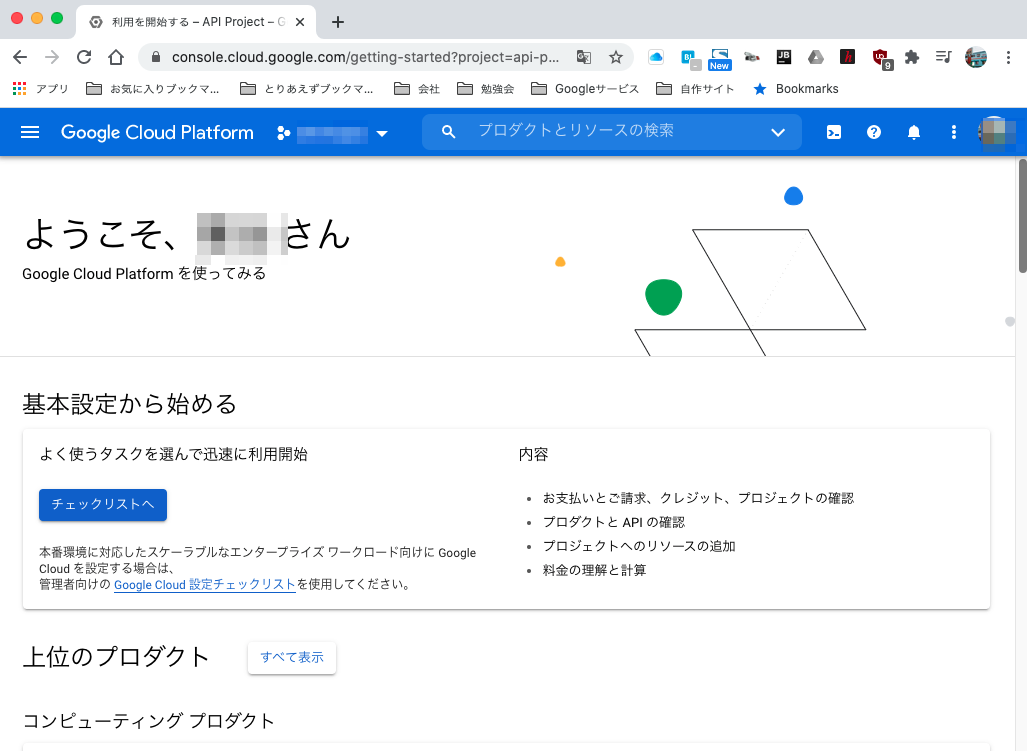
認証情報画面へ遷移

認証情報を作成

APIキーを取得

確認

※有料です
手順
プロジェクトの新規作成
npx react-native init SampleMap1
cd SampleMap1
react-native-mapsコンポーネントを追加
npm install --save react-native-maps
npm install @react-native-community/geolocation --save
APIキーを設定
app配下のAndroidManifest.xmlを編集
<manifest xmlns:android="http://schemas.android.com/apk/res/android"
  package="com.samplemap1">

    <uses-permission android:name="android.permission.INTERNET" />

    <application
      android:name=".MainApplication"
      android:label="@string/app_name"
      android:icon="@mipmap/ic_launcher"
      android:roundIcon="@mipmap/ic_launcher_round"
      android:allowBackup="false"
      android:theme="@style/AppTheme">
      <activity
        android:name=".MainActivity"
        android:label="@string/app_name"
        android:configChanges="keyboard|keyboardHidden|orientation|screenSize|uiMode"
        android:launchMode="singleTask"
        android:windowSoftInputMode="adjustResize">
        <intent-filter>
            <action android:name="android.intent.action.MAIN" />
            <category android:name="android.intent.category.LAUNCHER" />
        </intent-filter>
      </activity>
      <activity android:name="com.facebook.react.devsupport.DevSettingsActivity" />

      <meta-data
        android:name="com.google.android.geo.API_KEY"
        android:value="もらったAPIキー" />

    </application>

</manifest>
App.jsを改修
/**
 * Sample React Native App
 * https://github.com/facebook/react-native
 *
 * @format
 * @flow strict-local
 */

import React from 'react';
import {
  Platform,
  StyleSheet,
  Button,
  Text,
  View,
  Dimensions,
} from 'react-native';
import MapView, { PROVIDER_GOOGLE, Region, Marker } from 'react-native-maps';
//import Geolocation, { GeolocationResponse } from '@react-native-community/geolocation';

const { width, height } = Dimensions.get('window');
const ASPECT_RATIO = width / height;
const LATITUDE_DELTA = 0.0922/4;
const LONGITUDE_DELTA = LATITUDE_DELTA * ASPECT_RATIO;
const places = {
  disneyland: {
    label: 'Disneyland',
    region: {
      latitude: 33.8120918,
      longitude: -117.9189742,
      latitudeDelta: LATITUDE_DELTA,
      longitudeDelta: LONGITUDE_DELTA,
    },
    marker: {
      latlng: {
        latitude: 33.8120918,
        longitude: -117.9189742,
      },
      title: 'Disneyland',
      description: 'Theme park',
    },
  },
  universalstudio: {
    label: 'Universal Studio Hollywood',
    region: {
      latitude: 34.1381168,
      longitude: -118.3533783,
      latitudeDelta: LATITUDE_DELTA,
      longitudeDelta: LONGITUDE_DELTA,
    },
    marker: {
      latlng: {
        latitude: 34.1381168,
        longitude: -118.3533783,
      },
      title: 'Universal Studio Hollywood',
      description: 'Film studio and theme park',
    },
  }
}

export default class App extends React.Component {

  inPlace2 = false;
  placeName = '';
  marker1;

  constructor(props){
    super(props);
    this.placeName = places.universalstudio.label;
    this.state = {
      region: places.universalstudio.region,
      marker: places.universalstudio.marker,
    };
  }

  movePlace(){
    this.marker1.hideCallout();
    if(this.inPlace2){
      this.placeName = places.universalstudio.label;
      this.setState({
        region: places.universalstudio.region,
        marker: places.universalstudio.marker,
      });
    }
    else{
      this.placeName = places.disneyland.label;
      this.setState({
        region: places.disneyland.region,
        marker: places.disneyland.marker,
      });
    }
    this.inPlace2 = !this.inPlace2;
  }

  render() {
    return (
      <View style={{flex:1}}>
        <MapView
          style={{flex:1}}
          region={this.state.region}
          provider={PROVIDER_GOOGLE} >
          <MapView.Marker
            ref={(ref)=>{this.marker1 = ref;}}
            coordinate={this.state.marker.latlng}
            title={this.state.marker.title}
            description={this.state.marker.description}
          />
        </MapView>
        <View style={{height:100,padding:16}}>
          <Text>{this.placeName}</Text>
          <Button title="Move" onPress={()=>this.movePlace()}/>
        </View>
      </View>
    );
  }
}
起動
npx react-native run-android
↓

気をつけること
- MAP APIが有効でないと動かない
react-nativeをexpoで作成
react-nativeをexpoで作成
概要
m-shige1979.hatenablog.com でCLIを使用した環境設定はできた感じとしてexpoの場合はどんな感じなのか確認する。
expo.io
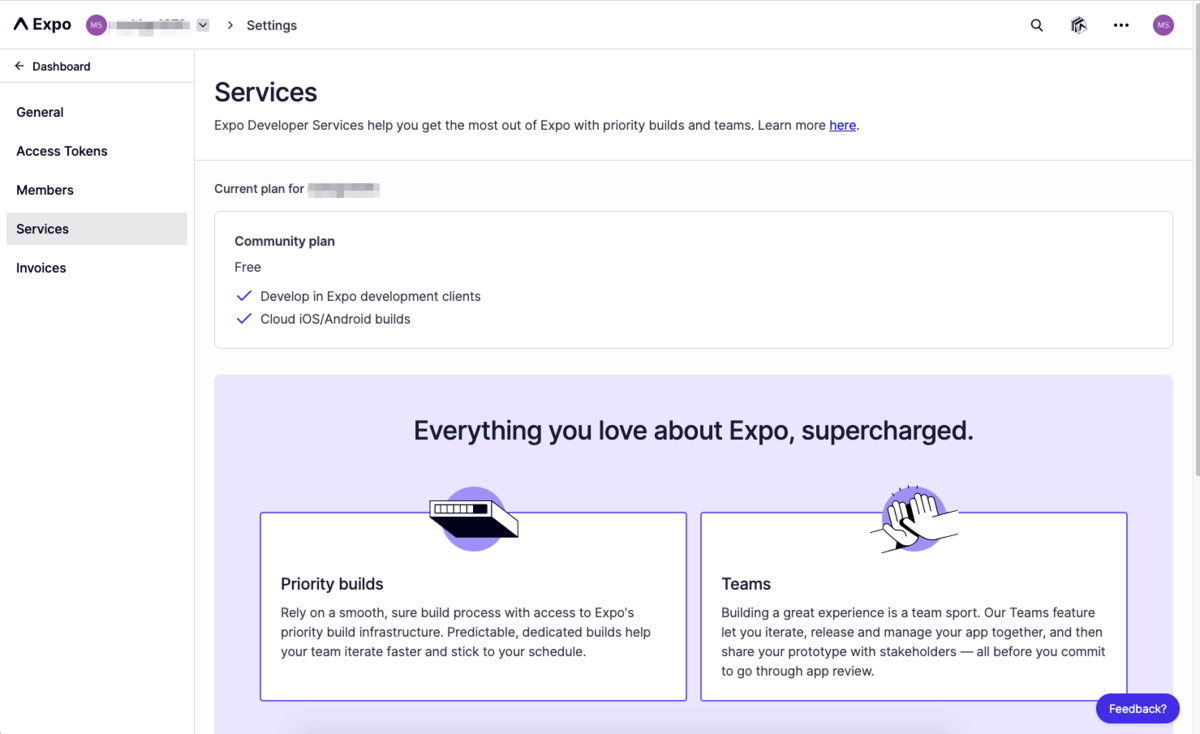
アカウント作成

アカウント作成後の画面
ツールインストール
android studioやxcodeをインストール
xcodeがapple storeより android studioはDownload Android Studio and SDK tools | Android Developersよりインストール ※一応いるのね・・・expo側でなんかいい感じにしてくれると思ってましたよ( ;∀;)
anyenvインストール
anyenv install --init
mkdir -p $(anyenv root)/plugin
git clone https://github.com/znz/anyenv-update.git $(anyenv root)/plugins/anyenv-update
anyenv update
anyenv install nodenv
exec $SHELL -l
nodenvインストール
nodenv install 14.11.0
nodenv global 14.11.0
node --version
npmよりexpoインストール
npm install expo-cli --global
アプリ作成
プロジェクト作成
npx expo init myapp1
※私の環境はzshなのでパスがうまく通らないのでnpx経由で起動
起動
cd myapp1
yarn start
↓
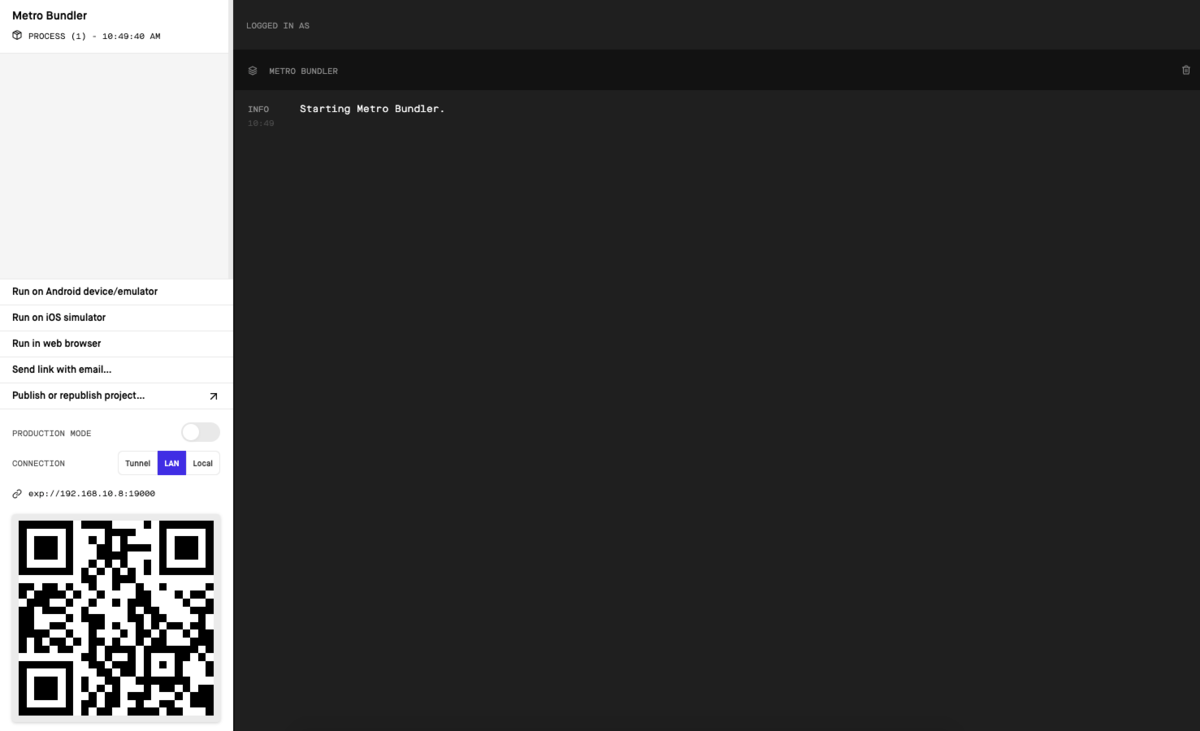
↓
iosを選択
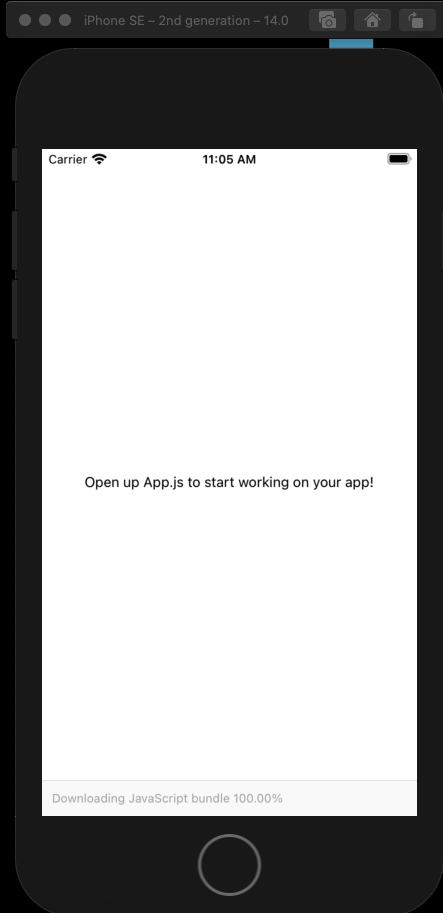
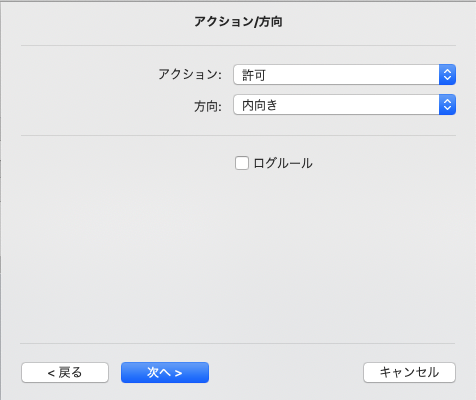
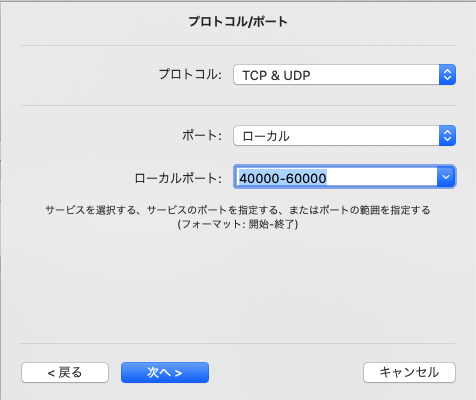
※eset入れていたら19000〜19002あたり開けること
ソース改修
App.js
import { StatusBar } from 'expo-status-bar';
import React from 'react';
import { StyleSheet, Text, View } from 'react-native';

export default function App() {
  return (
    <View style={styles.container}>
      <Text>hello world</Text>
      <StatusBar style="auto" />
    </View>
  );
}

const styles = StyleSheet.create({
  container: {
    flex: 1,
    backgroundColor: '#fff',
    alignItems: 'center',
    justifyContent: 'center',
  },
});
↓
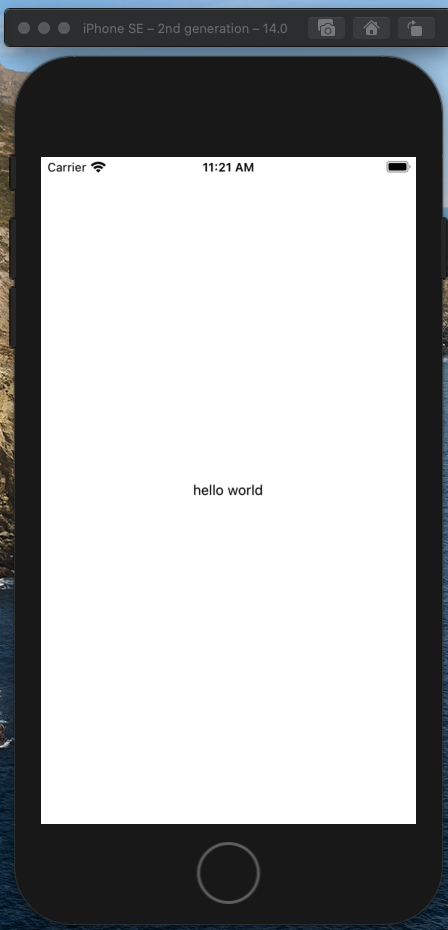
基本的にソースを修正後に自動的に変更が反映される仕組みだが、 ポートを閉じていたりいたらうまく動作しないため、最初のうちはシミュレータを再度起動し直す必要があるかも
実機に入れるのは今後にする スマホアプリのexpo clientとかでどうにかするらしいが・・・
終わり
herokuでCORSを確認
herokuでCORSを確認
CORS
要はajaxとかでホストの異なるリクエストを取得できないこと
環境
大元(リクエスト先)
mighty-taiga-69931.herokuapp.com
index.php
<?php
session_start();
if ($_SESSION["auth"] === true) {
    // redirect
    header('Location: ./top.php');
    exit;
}
?>
<!DOCTYpe html>
<html>
<head>
    <script type="text/javascript" src="./jquery-3.5.1.min.js"></script>
</head>
<body>
    <div>
    <label>
            userid: <input type="text" class="id" ame="userid" />
        </label>
        <label>
            password: <input type="password" class="pw" name="password" />
        </label>
        <button type="button" class="login-btn">
            login
        </button>
    </div>
<script>
$(function() {
    $(".login-btn").on("click", function() {
        console.log("login");

        let params = {
            "userid": $(".id").val(),
            "password": $(".pw").val()
        };

        $.ajax({
            type: "POST",
            url: "./login.php",
            contentType: 'application/json',
            dataType: "json",
            data: JSON.stringify(params),
            success: function(msg){
                console.log(msg);
                location.href = "/";
            },
            error: function(msg){
                console.log(msg);
            }
        });
    });
});
</script>
</body>
</html>
login.php
<?php
session_start();

$json = file_get_contents("php://input");
$contents = json_decode($json, true);
//var_dump($contents);

$new_sessionid = session_id();
$auth = "NG";
if ($contents["userid"] == "admin"  && $contents["password"] == "pass") {
    $auth = "OK";

    //
    session_regenerate_id(true);
    $new_sessionid = session_id();
    $_SESSION["auth"] = true;
}

$result = [
    "status" => 200,
    "auth" => $auth,
    "session_id" => $new_sessionid,
];

echo json_encode($result);
?>
logout.php
<?php
session_start();

$_SESSION = array();

if (ini_get("session.use_cookies")) {
    $params = session_get_cookie_params();
    setcookie(session_name(), '', time() - 42000,
        $params["path"], $params["domain"],
        $params["secure"], $params["httponly"]
    );
}

session_destroy();
session_regenerate_id(true);
?>
検証用(大元へアクセスする方)
pacific-harbor-45480.herokuapp.com
index.php
<!DOCTYpe html>
<html>
<head>
    <script type="text/javascript" src="./jquery-3.5.1.min.js"></script>
</head>
<body>
    <div>
    <label>
            userid: <input type="text" class="id" ame="userid" />
        </label>
        <label>
            password: <input type="password" class="pw" name="password" />
        </label>
        <button type="button" class="login-btn">
            login
        </button>
    </div>
<script>
$(function() {
    $(".login-btn").on("click", function() {
        console.log("login");

        let params = {
            "userid": $(".id").val(),
            "password": $(".pw").val()
        };

        $.ajax({
            type: "POST",
            url: "https://mighty-taiga-69931.herokuapp.com//login.php",
            contentType: 'application/json',
            dataType: "json",
            data: JSON.stringify(params),
            success: function(msg){
                console.log(msg);
                location.href = "/";
            },
            error: function(msg){
                console.log(msg);
            }
        });
    });
});
</script>
</body>
</html>
確認
        $.ajax({
            type: "POST",
            url: "https://mighty-taiga-69931.herokuapp.com//login.php",
            contentType: 'application/json',
            dataType: "json",
            data: JSON.stringify(params),
            success: function(msg){
                console.log(msg);
                location.href = "/";
            },
            error: function(msg){
                console.log(msg);
            }
        });
結果
Access to XMLHttpRequest at 'https://mighty-taiga-69931.herokuapp.com//login.php' from origin 'https://pacific-harbor-45480.herokuapp.com' has been blocked by CORS policy: Response to preflight request doesn't pass access control check: No 'Access-Control-Allow-Origin' header is present on the requested resource.

うん、出ました。 対策としては「Access-Control-Allow-Headers」を大元より返却するようにする。
app側でやるかnginxとかのwebサーバのどちらかで対応できるかも
header("Access-Control-Allow-Origin: *");
header("Access-Control-Allow-Methods: GET,POST,HEAD,OPTIONS");
header("Access-Control-Allow-Headers: Content-Type");
e
もし、ホストを任意のもの限定にしたい場合は
header("Access-Control-Allow-Origin: https://pacific-harbor-45480.herokuapp.com");
みたいにすることで対応可能
終わり
heroku復習
herokuの復習
すっかりやってなくて忘れたので復習がてらやり方をメモ
heroku
クラウド・アプリケーション・プラットフォーム | Heroku
やり方
とりあえず、ログインして簡単なwebアプリ作成まで DBとかはなし
手順
ログイン
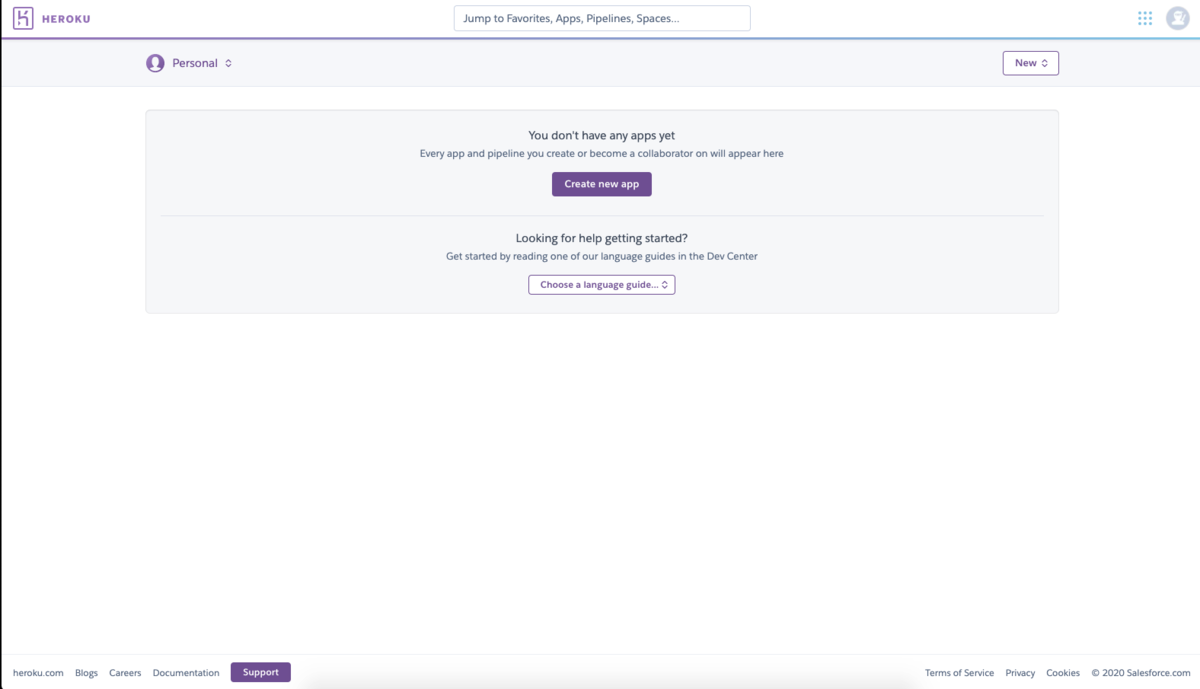
ダッシュボード画面
以前のアプリは何を入れていたか忘れたし使ってないはずなので消したw
クライアント側にツールインストール
brew tap heroku/brew && brew install heroku
heroku autocomplete
クライアントからログイン
heroku login
↓
 へえ、web経由してログインするのか・・・
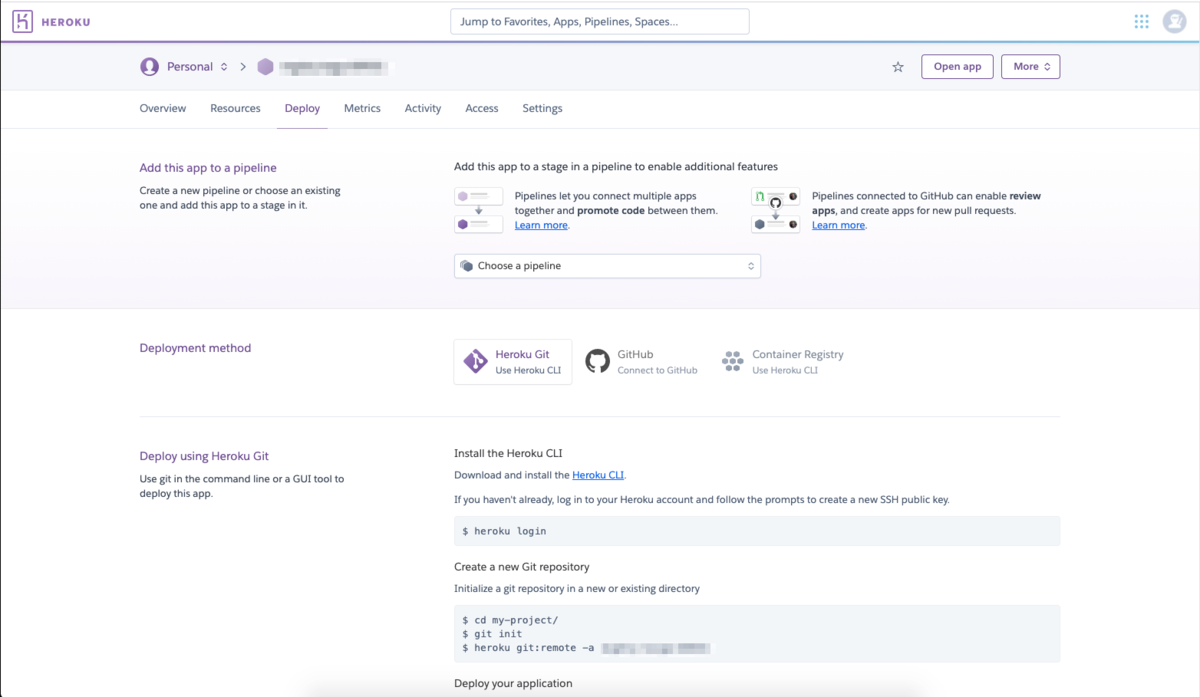
アプリを名前なしで作成すると任意の名前が自動生成される
クライアント側でgitを連携
$ git init
$ heroku git:remote -a [アプリ名]
任意のファイルを作成
index.php
<?php
    echo "test";
?>
push
git push heroku master
heroku open
heroku open
↓

終わり
なんで今更
ちょっと CORSの確認したくて手頃に使えそうなサービスないかと考えたら herokuでなんとか実現できそうかなって思って・・・
でも忘れたので再度メモ程度として残す
react-native環境設定
いろいろ参考にしたもの
React Native の始め方 - Qiita
React Native環境構築手順 - Qiita
ReactNative入門① ~インストールから起動まで~ - Qiita
https://deha.co.jp/magazine/react-native1/
環境
mac(catalina)
入れるもの
react-native
てじゅん
brewインストール*1
/usr/bin/ruby -e “$(curl -fsSL https://raw.githubusercontent.com/Homebrew/install/master/install)”
※入っている場合はupdateとかしとけば良いはず
anyenvセットアップ*2
brew install anyenv
anyenv init
anyenv install --init
echo 'eval "$(anyenv init -)"' >>  ~/.zshrc
※”~/.zshrc”の箇所は環境に合わせて書き換える(私の環境はcatalinaだったのかbach_profileが使えなかった)
※anyenvを使う - Qiita
※手動?
anyenv install --init
mkdir -p $(anyenv root)/plugin
git clone https://github.com/znz/anyenv-update.git $(anyenv root)/plugins/anyenv-update
anyenv update
anyenv install nodenv
exec $SHELL -l
nodenv install
nodenv install 14.11.0
nodenv global 14.11.0
node --version
watchman
brew install watchman
yarn install
brew install yarn
react native
mkdir -p $HOME/work/react-native
cd $HOME/work/react-native
yarn add --exact react-native
yarn add --dev --exact @types/react-native
java
brew tap AdoptOpenJDK/openjdk
brew cask install adoptopenjdk8
java -version
環境変数(~/.zshrc)に追記
export ANDROID_HOME=$HOME/Library/Android/sdk
export PATH=$PATH:$ANDROID_HOME/emulator
export PATH=$PATH:$ANDROID_HOME/tools
export PATH=$PATH:$ANDROID_HOME/tools/bin
export PATH=$PATH:$ANDROID_HOME/platform-tools
xcode(環境によっては既存のものを削除する必要あり)
app storeよりインストール
CocoaPods
sudo gem install cocoapods
pod --version
雛形作成
cd $HOME/work/react-native
npx react-native init MyApp --template react-native-template-typescript@6.3.16
実行
cd MyApp
npx react-native run-android
↓
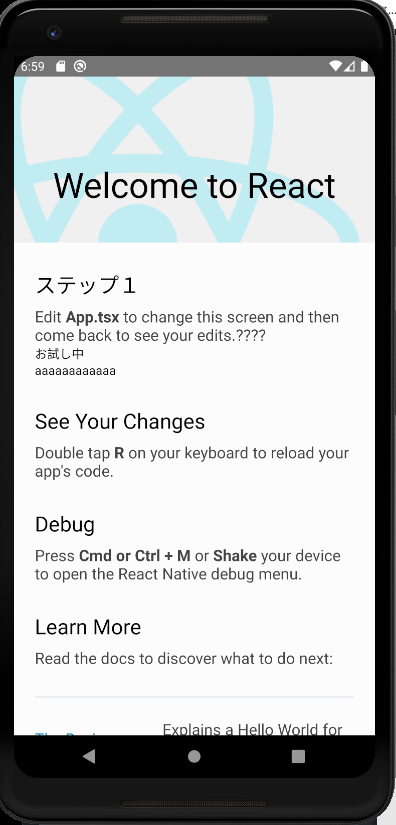
esetの弊害
所感
- react-nativeのセットアップよりgradleの対応の方に時間を取られた
- セキュリティソフト変えた方がいいかな?
- windows10でandoriidを動かす方法も調べるけど、PC持ってないからどうしようかな・・・
jetson nanoでusb接続したカメラより物体検知
USBカメラ接続
ラズパイのカメラもあるけど接続がUSBの方が簡単そうだったのでUSBにした
USB接続し、認識されていること確認
$ lsusb
Bus 002 Device 002: ID xxxx:xxxx Realtek Semiconductor Corp.
Bus 002 Device 001: ID xxxx:xxxx Linux Foundation 3.0 root hub
Bus 001 Device 005: ID xxxx:xxxx Elecom Co., Ltd
Bus 001 Device 004: ID xxxx:xxxx Logitech, Inc. Unifying Receiver
Bus 001 Device 003: ID xxxx:xxxx
Bus 001 Device 002: ID xxxx:xxxx Realtek Semiconductor Corp.
Bus 001 Device 001: ID xxxx:xxxx Linux Foundation 2.0 root hub
$
$ ls /dev/video*
/dev/video0
$
実装
import jetson.inference
import jetson.utils

net = jetson.inference.detectNet("ssd-mobilenet-v2", threshold=0.5)
camera = jetson.utils.gstCamera(1280, 720, "/dev/video0")
display = jetson.utils.glDisplay()

while display.IsOpen():
    img, width, height = camera.CaptureRGBA()
    detections = net.Detect(img, width, height)

    print detections
    if len(detections) > 0:
        print("detect count= {0}".format(len(detections)))
        for detection in detections:
            print ("ClassID:{0}, Confidence:{1}" \
                  + ", Left:{2}, Top:{3}, Right:{4}, Bottom:{5}" \
                  + ", Width:{6}, Height:{7}, Area:{8}, Center:{9}" \
                  ).format(detection.ClassID
                          , detection.Confidence
                          , detection.Left
                          , detection.Top
                          , detection.Right
                          , detection.Bottom
                          , detection.Width
                          , detection.Height
                          , detection.Area
                          , detection.Center
                          )

    display.RenderOnce(img, width, height)
    display.SetTitle("Object Detection | Network {:.0f} FPS".format(net.GetNetworkFPS()))
実験(汚部屋御免)
jetson nanoでカメラ画像より物体検知
うーん、動画うまく取る方法がわからん( ;∀;)
参考
jetson nanoで物体検知を行う
jetson nanoで物体検知を試した
日本語の情報がどのあたりが最新か不明のためでいろいろ手間取った ssh経由でやVNCでやろうとしたけど結局直接端末でやらないと面倒そうなので端末で制御
パッケージインストール
sudo apt-get update
sudo apt-get install git cmake libpython3-dev python3-numpy
jetson-interfaceを利用して画像認識を行うため、git clone
git clone --recursive https://github.com/dusty-nv/jetson-inference
cd jetson-inference
mkdir build
cd build
cmake ../
↓
モデルダウンロード
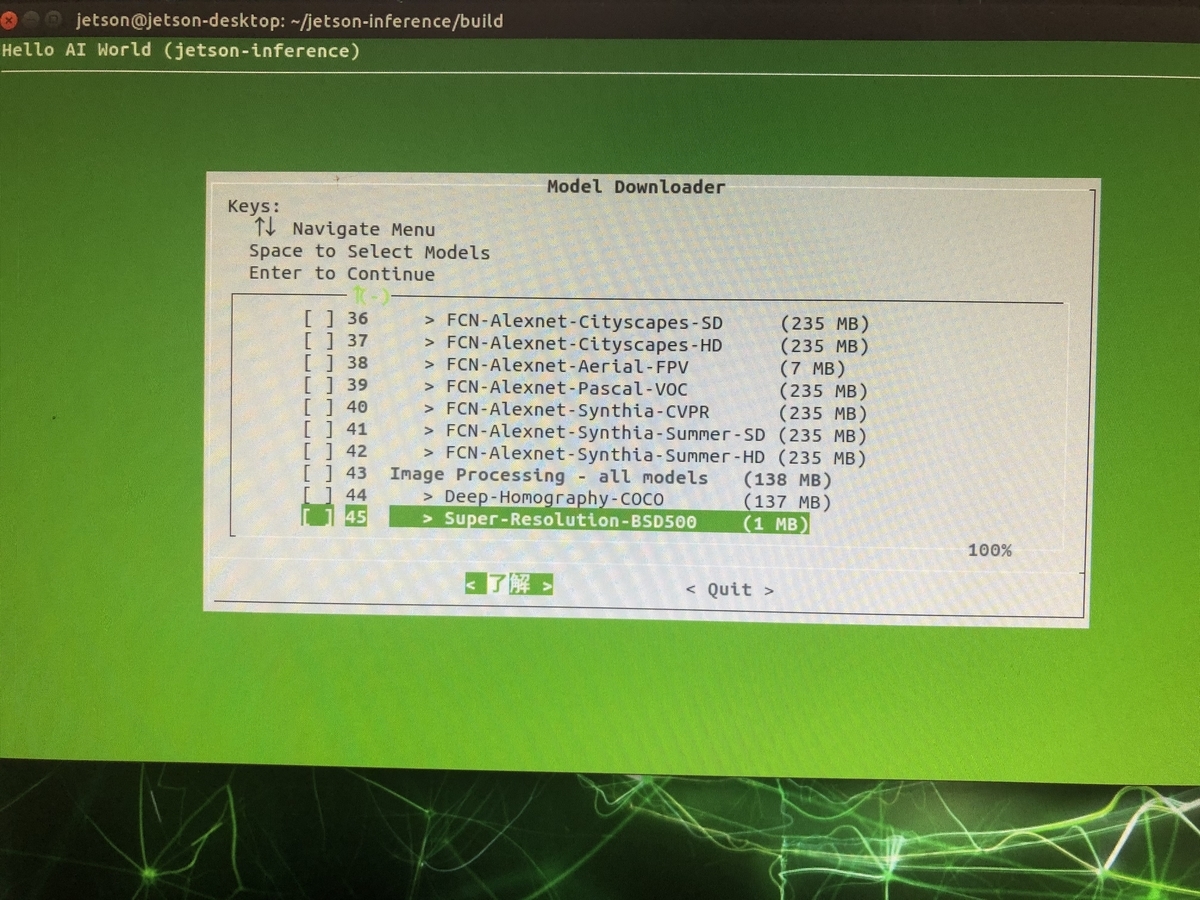
# modelを選択する(デフォルトのまま)
[ ] 1  Image Recognition - all models          (2.2 GB)
[ ] 2     > AlexNet                            (244 MB)
[*] 3     > GoogleNet                          (54 MB)
[ ] 4     > GoogleNet-12                       (42 MB)
[*] 5     > ResNet-18                          (47 MB)
[ ] 6     > ResNet-50                          (102 MB)
[ ] 7     > ResNet-101                         (179 MB)
[ ] 8     > ResNet-152                         (242 MB)
[ ] 9     > VGG-16                             (554 MB)
[ ] 10    > VGG-19                             (575 MB)
[ ] 11    > Inception-V4                       (172 MB)
[ ] 12 Object Detection - all models           (395 MB)
[ ] 13    > SSD-Mobilenet-v1                   (27 MB)
[*] 14    > SSD-Mobilenet-v2                   (68 MB)
[ ] 15    > SSD-Inception-v2                   (100 MB)
[*] 16    > PedNet                             (30 MB)
[ ] 17    > NultiPed                           (30 MB)
[*] 18    > FaceNet                            (24 MB)
[*] 19    > DetectNet-COCO-Dog                 (29 MB)
[ ] 20    > DetectNet-COCO-Bottle              (29 MB)
[ ] 21    > DetectNet-COCO-Chair               (29 MB)
[ ] 22    > DetectNet-COCO-Airplane            (29 MB)
[ ] 23 Semantic Segmentation - all             (518 MB)
[*] 24    > FCN-ResNet18-Cityscapes-512x256    (47 MB)
[*] 25    > FCN-ResNet18-Cityscapes-1024x512   (47 MB)
[ ] 26    > FCN-ResNet18-Cityscapes-2048x1024  (47 MB)
[*] 27    > FCN-ResNet18-DeepScene-576x320     (47 MB)
[ ] 28    > FCN-ResNet18-DeepScene-864x480     (47 MB)
[*] 29    > FCN-ResNet18-MHP-512x320           (47 MB)
[ ] 30    > FCN-ResNet18-MHP-512x320           (47 MB)
[*] 31    > FCN-ResNet18-Pascal-VOC-320x320    (47 MB)
[ ] 32    > FCN-ResNet18-Pascal-VOC-512x320    (47 MB)
[*] 33    > FCN-ResNet18-SUN-RGBD-512x400      (47 MB)
[ ] 34    > FCN-ResNet18-SUN-RGBD-640x512      (47 MB)
[ ] 35 Semantic SEgmentation -legacy           (1.4 GB)
[ ] 36    > FCB-Alexnet-Cityscapes-SD          (235 MB)
[ ] 37    > FCB-Alexnet-Cityscapes-HD          (235 MB)
[ ] 38    > FCB-Alexnet-Aerial-FPV             (7 MB)
[ ] 39    > FCB-Alexnet-Pascal-VOC             (235 MB)
[ ] 40    > FCB-Alexnet-Synthia-CVPR           (235 MB)
[ ] 41    > FCB-Alexnet-Synthia-Summer-SD      (235 MB)
[ ] 42    > FCB-Alexnet-Synthia-Summer-HD      (235 MB)
[ ] 43 Image Processing - all models           (138 MB)
[ ] 44    > Deep-Homography-COCO               (137 MB)
[ ] 45    > Super-Resolution-BSD500            (1MB MB)
→  了解
↓
PyTorchはスキップしても良いかも?
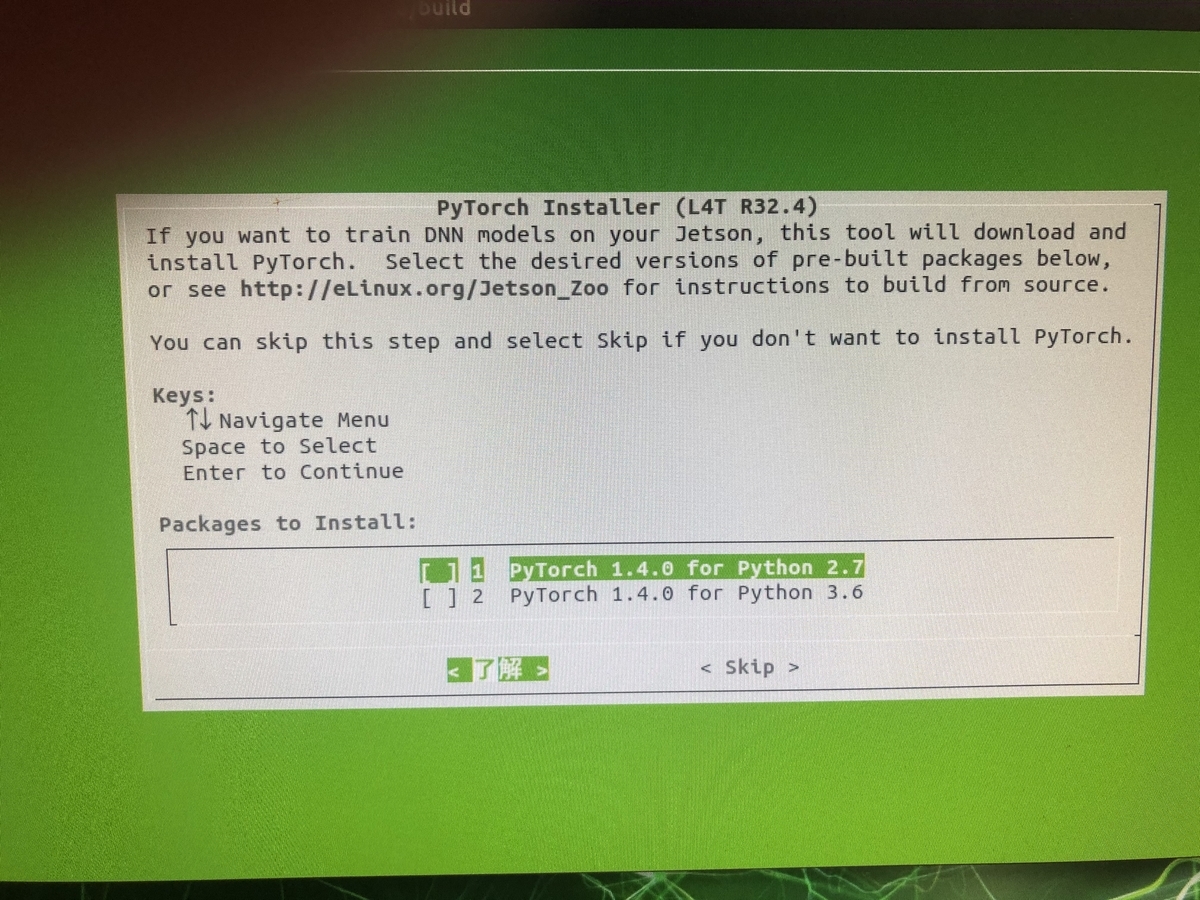
 [ ] 1 PyTorch v1.1.0 for Python 2.7
 [ ] 2 PyTorch v1.1.0 for Pythin 3.6
→  了解
↓ ビルド&インストール&ライブラリ登録
make
sudo make install
sudo ldconfig
動作確認
1回目(初回はいろいろ準備するものがあるようで時間がかかる)
cd $HOME/jetson-inference/build/aarch64/bin/
./detectnet-console.py images/peds_0.jpg output_0.jpg
結果
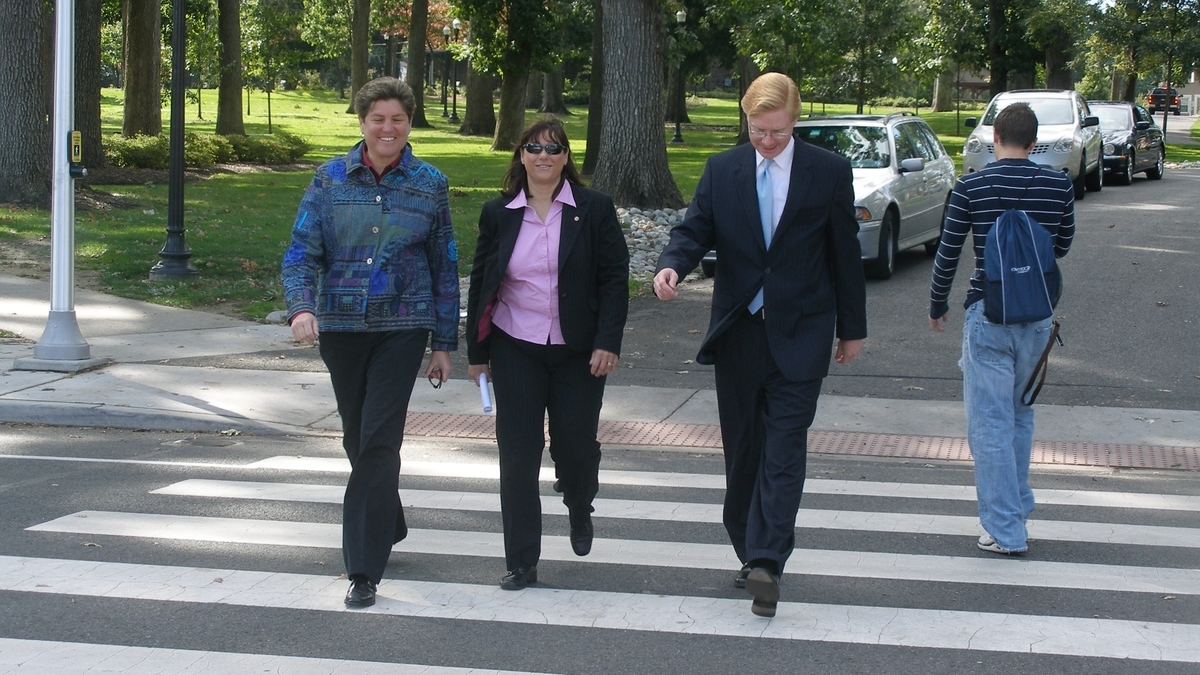 ↓
↓
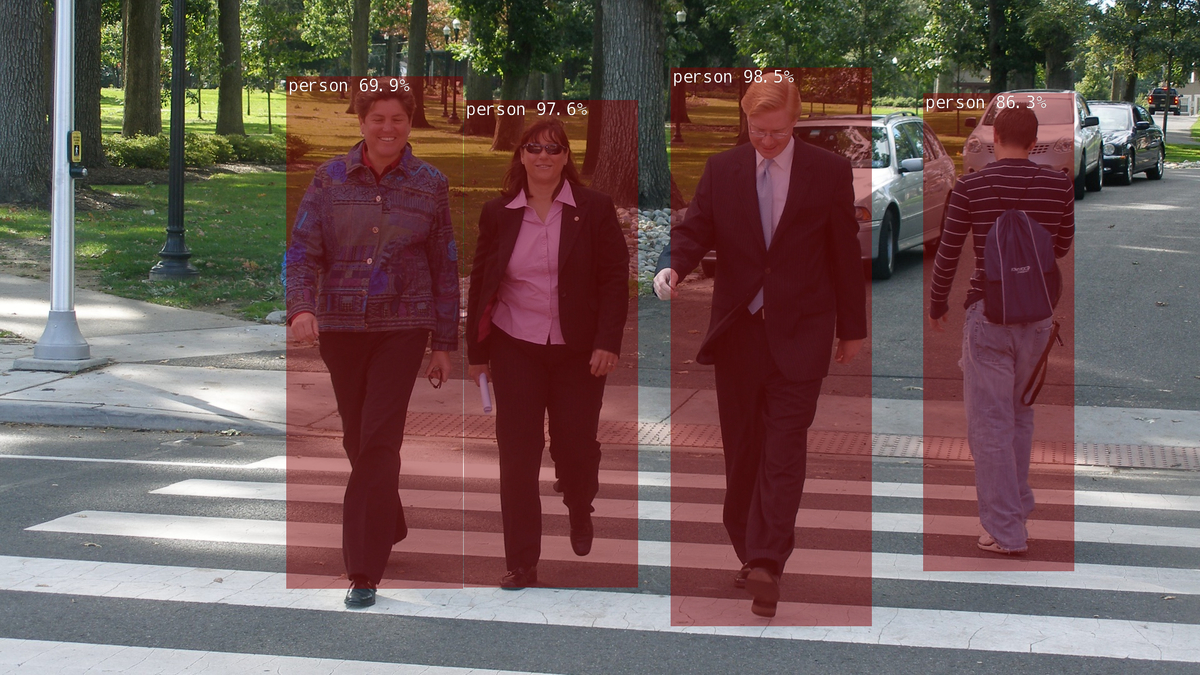
2回目
./detectnet-console.py images/peds_1.jpg output_1.jpg
結果
 ↓
↓

参考
www.youtube.com jetson-inference/building-repo-2.md at master · dusty-nv/jetson-inference · GitHub
補足
# ダウンロードツール起動コマンド
cd jetson-inference/tools
./download-models.sh

# PyTorchのインストーラー起動コマンド
cd jetson-inference/build
./install-pytorch.sh

# 自前マシンへコピー
scp jetson@jetson-desktop.local:/home/jetson/jetson-inference/build/aarch64/bin/images/peds_0.jpg $HOME/work/peds_0.jpg
scp jetson@jetson-desktop.local:/home/jetson/jetson-inference/build/aarch64/bin/output_0.jpg $HOME/work/output_0.jpg
scp jetson@jetson-desktop.local:/home/jetson/jetson-inference/build/aarch64/bin/images/peds_1.jpg $HOME/work/peds_1.jpg
scp jetson@jetson-desktop.local:/home/jetson/jetson-inference/build/aarch64/bin/output_1.jpg $HOME/work/output_1.jpg

